


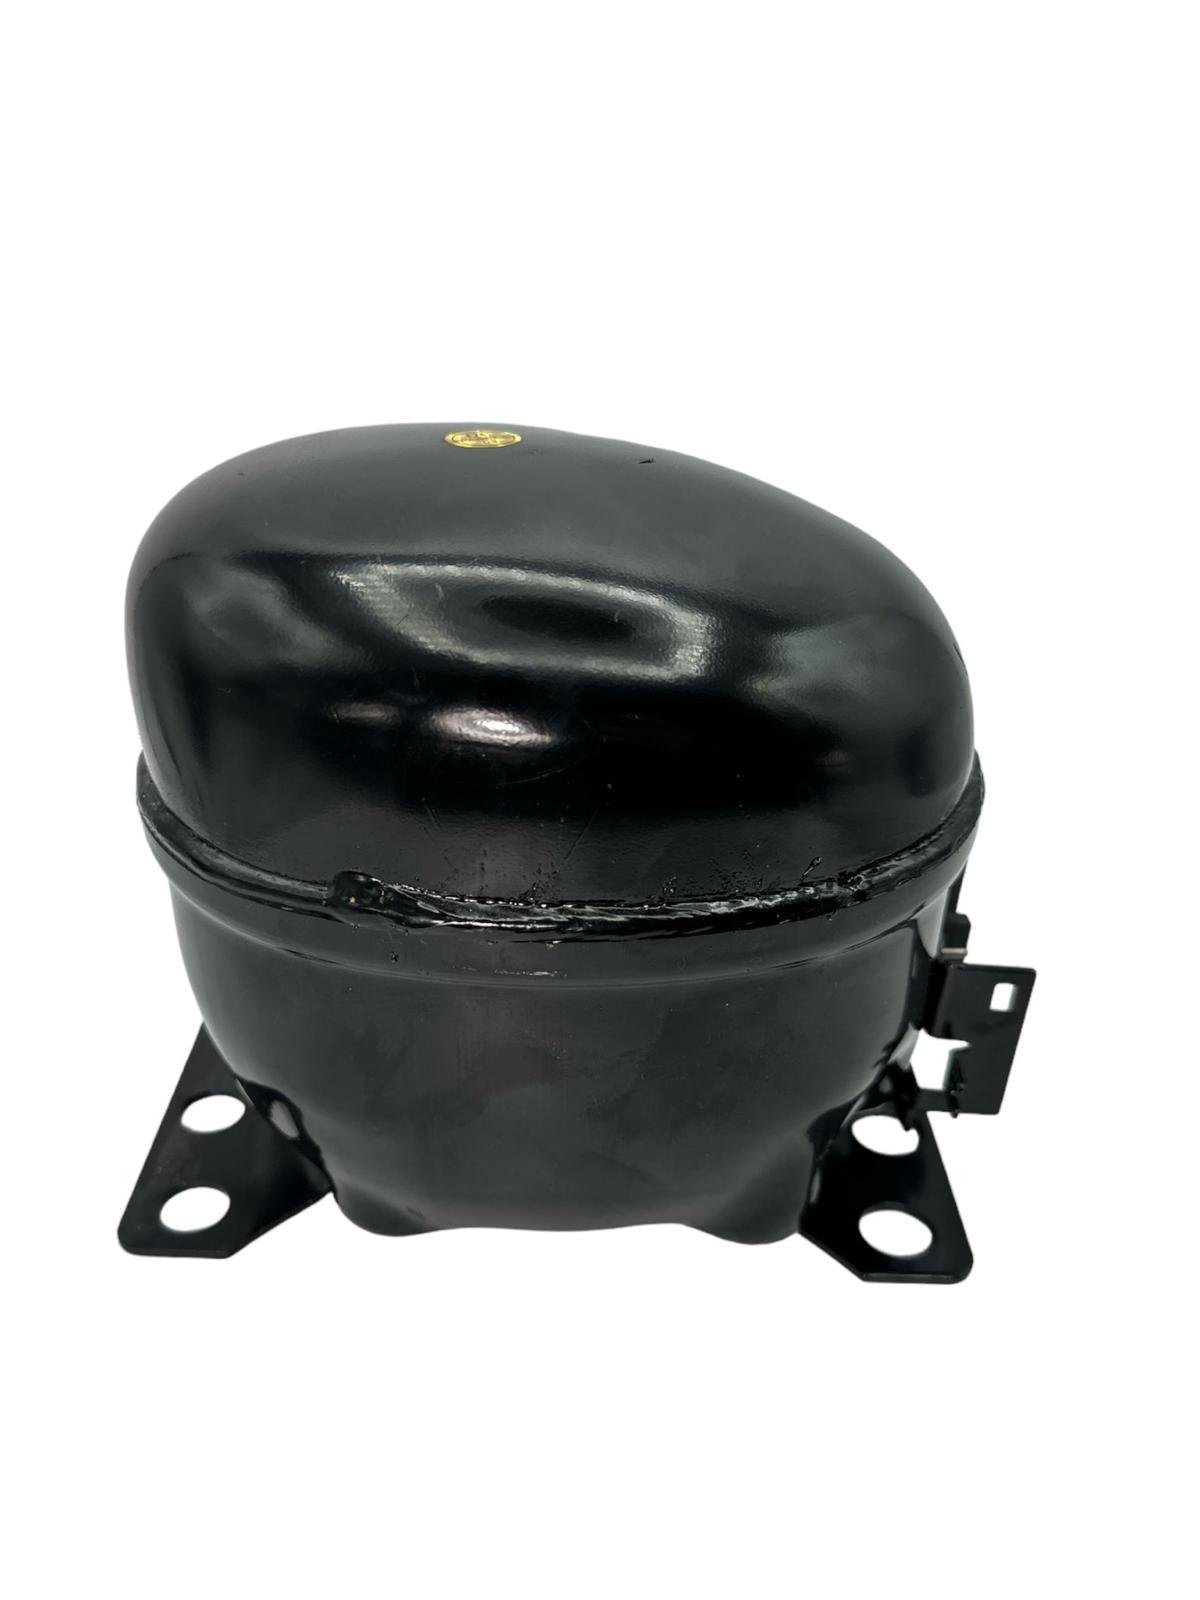
NS1114HY-ER for Thor Wine Cooler seamlessly replaces NS1114HY, EURUS168-04, 1114HY, ERNS1114HY, EURNS1114HY, assuring your home appliance's peak performance and durability.
Our replacement component is made with durability and accuracy, and it is intended to match or surpass OEM specifications, so it will fit perfectly and perform dependably.
NS1114HY-ER - Compatible with:
- Thor
NS1114HY-ER Fixes and Solutions:
NS1114HY-ER Replaces:
- NS1114HY,
EURUS168-04,
1114HY,
ERNS1114HY,
EURNS1114HY,
Perfect Fit Models for NS1114HY-ER:
How to test Compressor Set Assembly?
- Unplug the Wine Cooler
- Ensure the Wine Cooler is unplugged from the power source to prevent electrical hazards.
- Locate the Compressor Set Assembly
- Disconnect the Compressor Set Assembly
- Once you have access, disconnect any wires attached to the Compressor Set Assembly to isolate it for testing.
Some useful diagnosing tips
How to install it?
Note: this repair has to be done by a professional or by a person with the required knowledge.
Preparing
Step 1 - Unplug the Unit
Before starting the installation, unplug the unit from the power supply. Remove the contents of the fridge and put them in another fridge or icebox temporarily.
Step 2 - Locate the Defective Compressor
Mostly, it's located at the bottom of the refrigerator and can be easily accessed from the back of the unit. Some models might have a guard or protector that has to be removed to expose the compressor.
Step 3 - Remove the Defective Part
Detach any wiring and the devices from the defective compressor and remove it from its spot. Remove any bolts or mounting hardware.
Installing
Step 1 - Add Refrigerant
Refrigerant makes the compressor work. Before charging the unit with a refrigerant, you need to pull a vacuum. In addition, ensure your fridge isn't leaking any of this refrigerant. If it is, fix the issue before replacing it.
Step 2 - Connect the Capacitor
Connect the capacitor and start relay to the new compressor following the correct wiring code as provided by your manufacturer.
Step 3 - Test the Unit
After the wiring and devices have been installed, test the unit for 24 hours.